Configure Your Odoo Instance
Field reference
The Instance Configuration form has a few sections of settings; the most important are at the top:
- Store URL / API credentials - what you generated under Generate API Keys.
- Default warehouse - every Shopify location maps here unless you set up per-location mapping later.
- Default pricelist / currency - used for newly-imported customers and orders.
- Behaviour defaults - what happens to imported customers (match by email vs always create), what happens to orders (quote vs confirmed), how products map.
Defaults are sensible for a single-store setup. Multi-store or B2B installs typically tune them.
After entering your Shopify credentials, configure the sync settings for your Odoo instance.
Basic Configuration
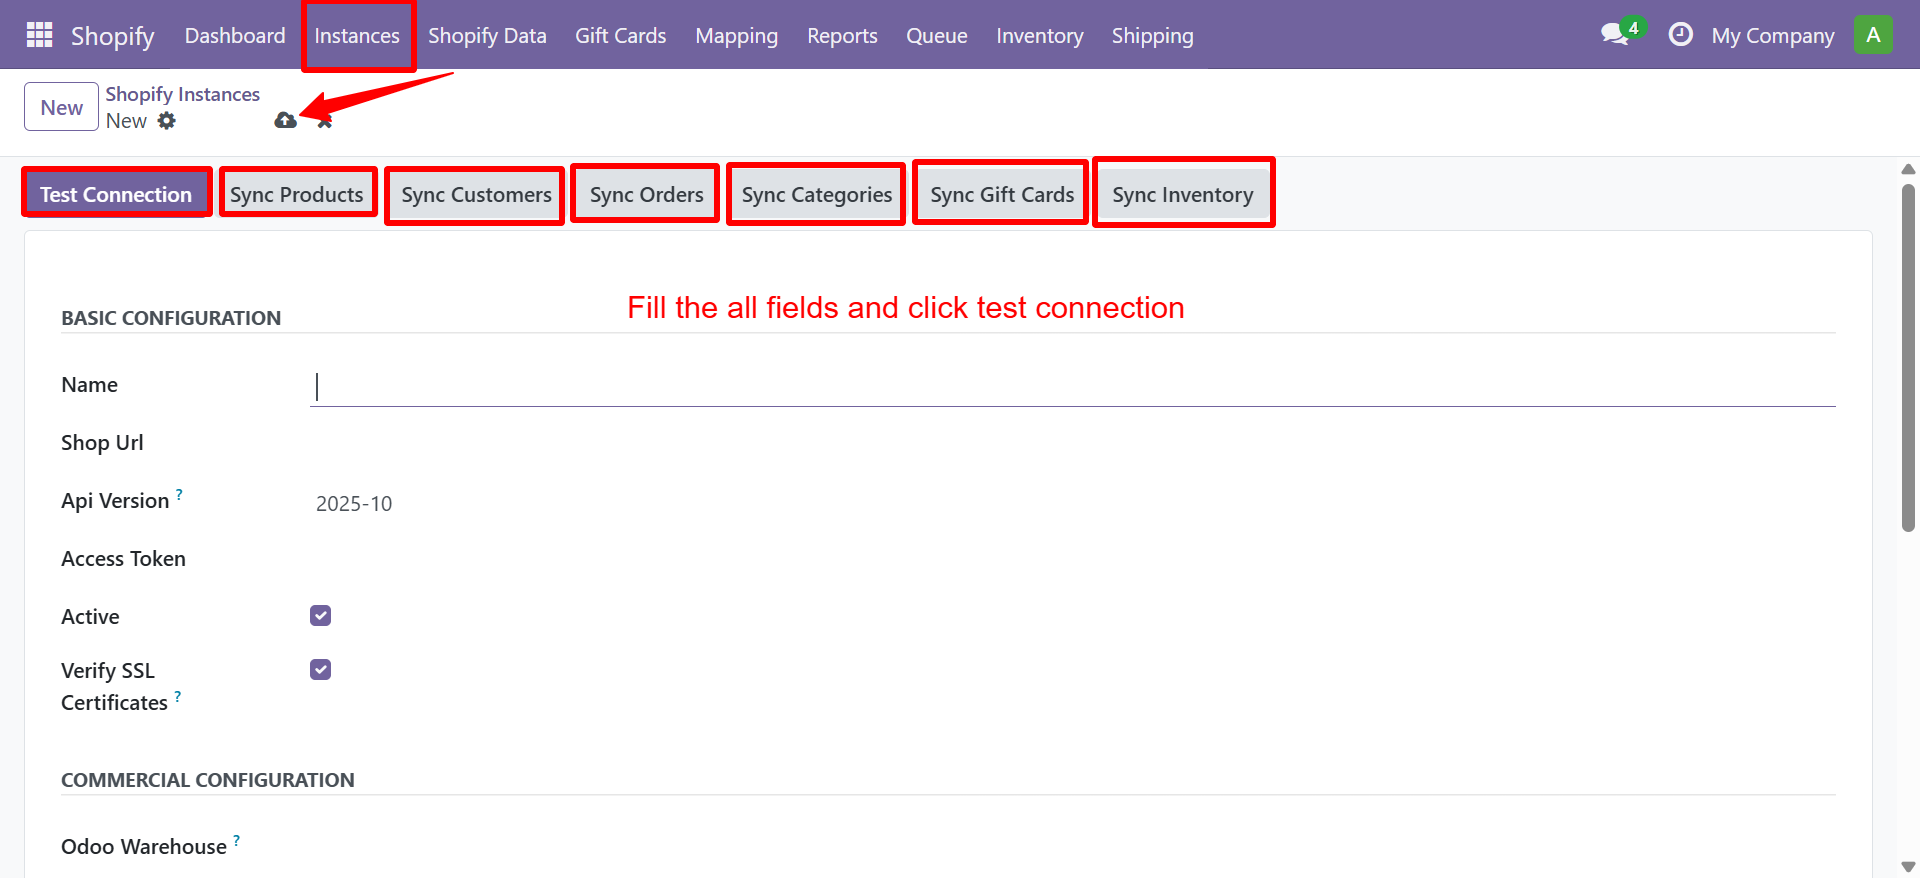
Navigate to Shopify → Configuration → Shopify Instances and open your instance.
Company & Warehouse
| Setting | Description |
|---|---|
| Company | The Odoo company to sync data into |
| Warehouse | Default warehouse for inventory operations |
| Sales Team | Sales team assigned to Shopify orders |
Customer Settings
| Setting | Description |
|---|---|
| Default Customer | Fallback customer for guest checkouts |
| Customer Import | Auto-create customers on order import |
Product Settings
| Setting | Description |
|---|---|
| Product Type | Default product type (Storable/Consumable) |
| UoM | Default unit of measure |
Saving the Configuration
Click Save after configuring all fields. The connector will validate the connection and display a green status indicator if everything is set up correctly.
Next Step
Proceed to Webhook Configuration to enable real-time sync.
Need Help?
Contact SDLC Corp at sdlccorp.com/contact-us or email sales@sdlccorp.com