Setup Connector
What's covered here
This page walks the end-to-end setup of a single Shopify-Odoo instance:
- Install the connector module from Apps.
- Configure your first instance with API keys.
- Run a connection test before importing any data.
- Decide on your default warehouse, pricelist, currency and behaviour flags.
For step-by-step on each, follow the links into the sub-pages.
After installing the module, configure the Shopify store connection in Odoo.
Adding a New Shopify Instance
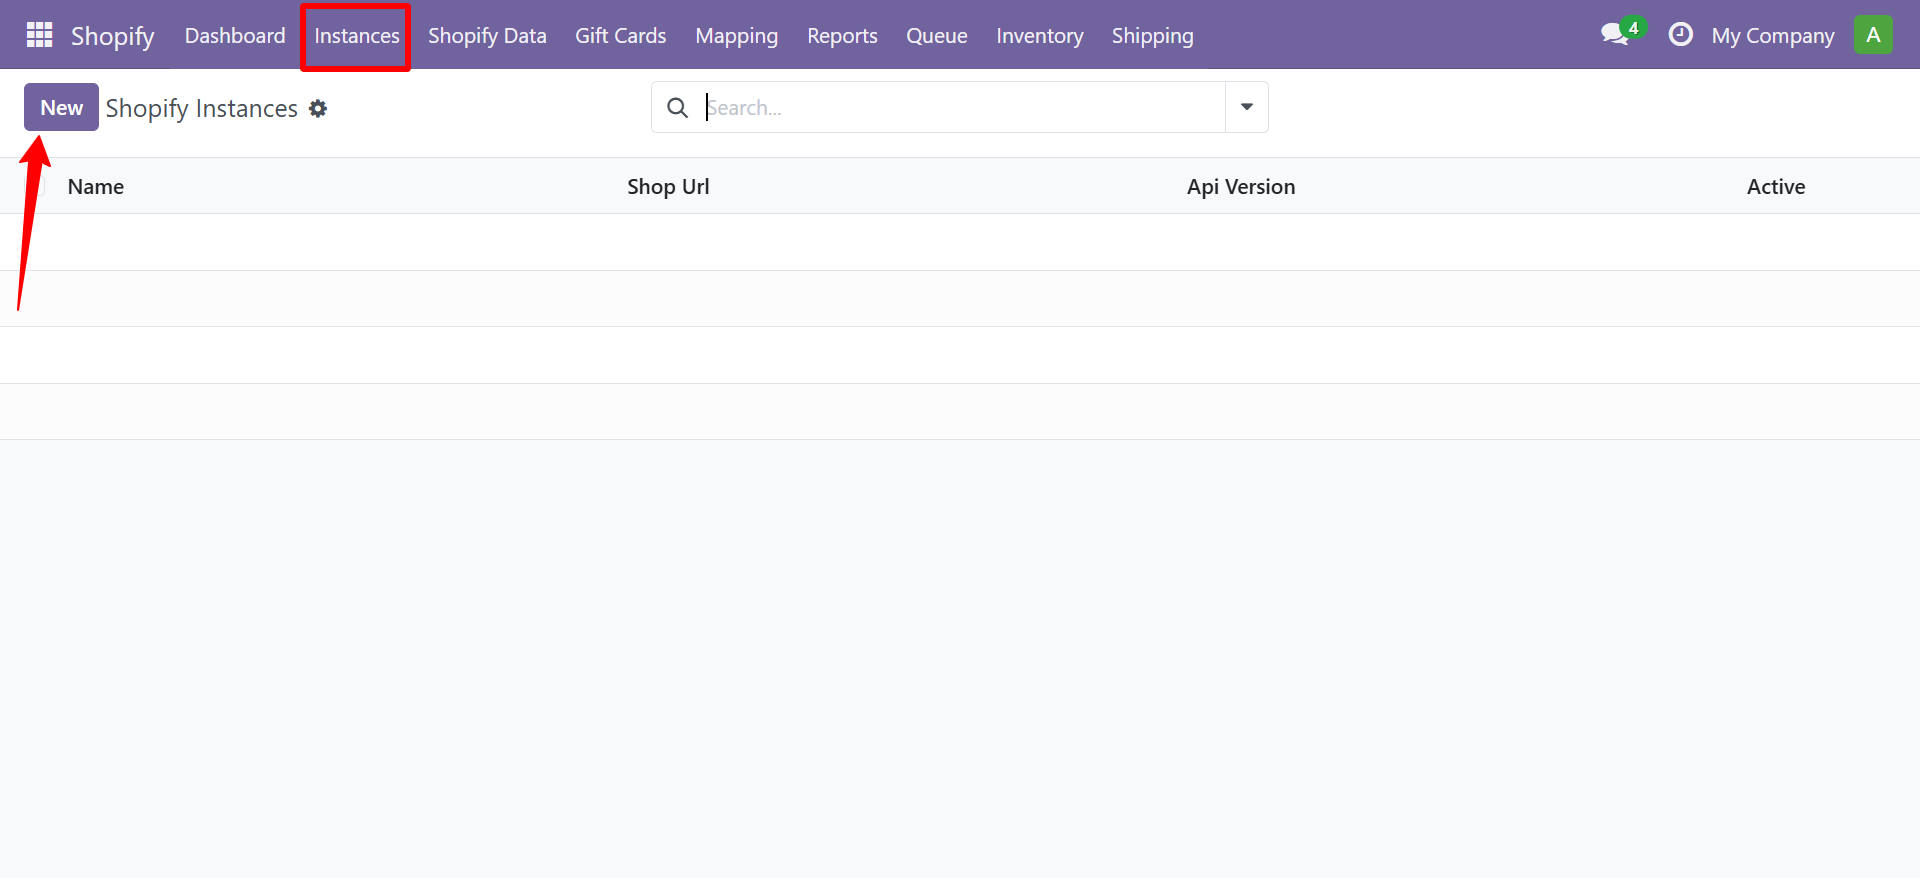
- In Odoo, navigate to Shopify → Configuration → Shopify Instances
- Click New to create a new instance
 3. Fill in the required fields:
| Field | Description |
|---|---|
| Name | A label for this Shopify store (e.g., "My US Store") |
| Shopify URL | Your store domain (e.g., mystore.myshopify.com) |
| API Key | From your Shopify Private App |
| API Secret | From your Shopify Private App |
| Access Token | Admin API access token |
- Click Test Connection to verify the credentials
- Click Save
Multi-Store Setup
The connector supports multiple Shopify stores connected to the same Odoo instance. Simply repeat the steps above for each store. Each store maintains its own sync settings, webhooks, and operation queues.
info
For multi-store configurations, you can configure different warehouses and price lists per store instance.
Need Help?
Contact SDLC Corp at sdlccorp.com/contact-us or email sales@sdlccorp.com