SDLC Financial Reports — Installation and Setup
Install and set up SDLC Financial Reports on your Odoo 17, 18, or 19 Community Edition instance in minutes.
Prerequisites
- A working Odoo 17, 18, or 19 Community Edition instance
- Admin access to your Odoo instance
- The Accounting (
account) module installed and configured with a chart of accounts - The Analytic Accounting (
analytic) module installed - Developer Mode enabled for initial setup
Dependencies
Odoo Module Dependencies
| Module | Technical Name | Purpose |
|---|---|---|
| Accounting | account | Core accounting -- provides chart of accounts, journal entries, and move lines |
| Analytic Accounting | analytic | Analytic accounts -- required for the Analytic Summary Report |
Python Library Dependencies
| Library | Purpose | Installation |
|---|---|---|
| xlsxwriter | Excel (XLSX) file generation with formatting, frozen headers, and number styles | pip install xlsxwriter |
If xlsxwriter is not installed, the Excel export feature will not work. PDF export and interactive views will function normally.
Installation Steps
- Download the Module -- Download
sdlc_financial_reportsfrom the Odoo App Store or obtain it from SDLC Corp. - Upload to Your Server -- Place the
sdlc_financial_reportsfolder in your Odoo addons directory (e.g.,/odoo/custom/addons/). - Update Apps List -- Go to Settings > Technical > Update Apps List and click Update.
- Install the Module -- Navigate to Apps, search for "SDLC Financial Reports", and click Install.
If you do not see the module in the Apps list, ensure Developer Mode is enabled and that your addons path in the Odoo configuration file includes the directory where the module is placed.
Verify Installation
After successful installation, you will see:
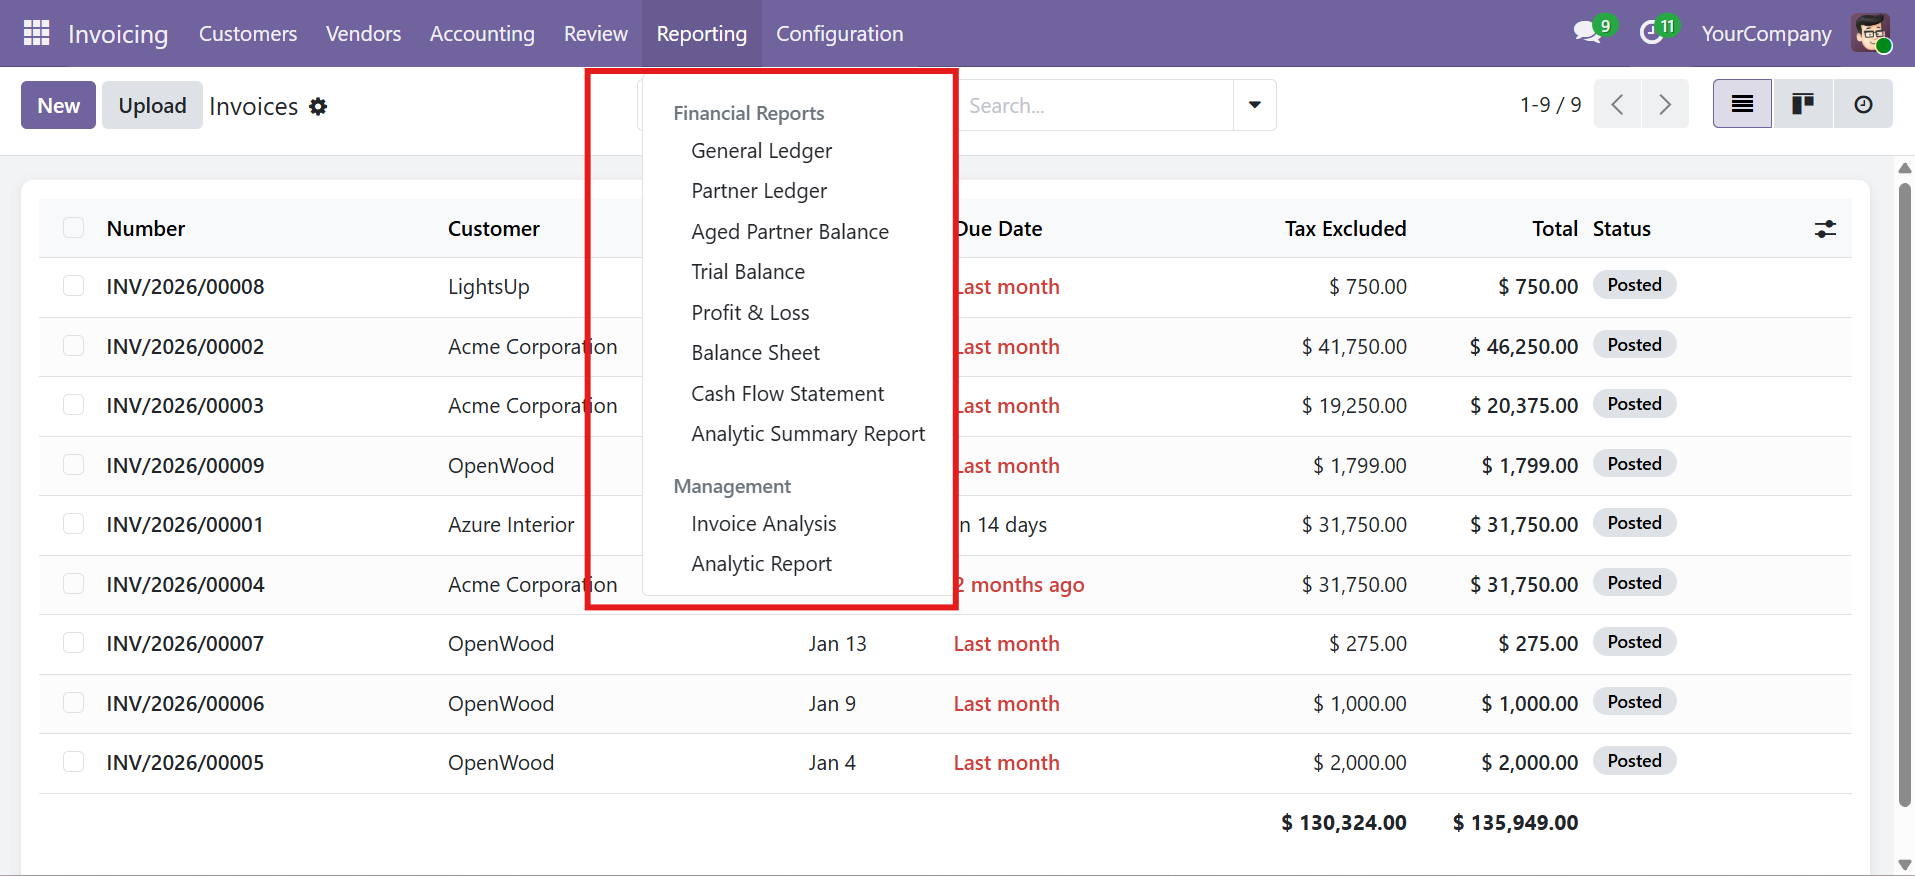
- A new Financial Reports submenu under Accounting > Reporting
- 8 report menu items: General Ledger, Partner Ledger, Aged Partner Balance, Trial Balance, Profit & Loss, Balance Sheet, Cash Flow Statement, Analytic Summary Report
- New settings under Accounting > Settings > Dynamic Financial Reports
No additional configuration is required to start generating reports. The module works out of the box with your existing chart of accounts and journal entries.
Security & Access Configuration
The module provides two dedicated security groups for access control.
Security Groups
| Group | Implied Groups | Permissions |
|---|---|---|
| Financial Reports User | Account Readonly | View and generate all reports, read-only access to report configurations |
| Financial Reports Manager | Financial Reports User + Account Manager | Full access: view, generate, configure, and manage all report settings |
Assigning Groups
- Go to Settings > Users & Companies > Users
- Select the user
- Under the Accounting section, assign either Financial Reports User or Financial Reports Manager
- Save the user record
Multi-Company Record Rules
A multi-company record rule ensures that report configurations are isolated per company. Users can only access account.financial.report.config records where the company matches one of their allowed companies.
Company Settings
Navigate to Accounting > Configuration > Settings and scroll to the Dynamic Financial Reports section to configure defaults.
Default Date Range
| Option | Description |
|---|---|
Today | Current date only |
This Week | Monday to Sunday of the current week |
This Month | First to last day of the current month (default) |
This Quarter | First to last day of the current quarter |
This Year | January 1 to December 31 of the current year |
Last Month | Previous calendar month |
Last Quarter | Previous calendar quarter |
Last Year | Previous calendar year |
Custom | Manual date selection |
Display Options
| Setting | Default | Description |
|---|---|---|
| Show Zero Balance Accounts | Off | When enabled, accounts with zero balances are included in reports |
| Show Hierarchy | On | When enabled, displays account hierarchy in tree view format |
| Include Initial Balance | On | When enabled, shows opening balance row at the start of each account section |
Aging Bucket Configuration
| Setting | Default | Description |
|---|---|---|
| Aging Bucket 1 | 30 days | First aging period boundary (e.g., 0-30 days) |
| Aging Bucket 2 | 60 days | Second aging period boundary (e.g., 30-60 days) |
| Aging Bucket 3 | 90 days | Third aging period boundary (e.g., 60-90 days) |
| Aging Bucket 4 | 120 days | Fourth aging period boundary (e.g., 90-120 days) |
You can change the bucket periods to match your business requirements. For example, set buckets to 15, 30, 45, 60 days for tighter payment monitoring.
Contact SDLC Corp at sdlccorp.com/contact-us or email sales@sdlccorp.com