Bidirectional Field Mapping
The Magento 2 Connector provides a powerful field mapping system that allows you to define custom bidirectional mappings between Odoo fields and Magento fields. This gives you full control over which data flows between the two systems and how it is transformed.
Mapping Types
The connector supports three types of field mapping:
| Mapping Type | Description | Menu Path |
|---|---|---|
| Product Mapping | Map Odoo product fields to Magento product attributes | Magento > Mapping > Product Mapping |
| Customer Mapping | Map Odoo partner fields to Magento customer attributes | Magento > Mapping > Customer Mapping |
| Category Mapping | Map Odoo category fields to Magento category attributes | Magento > Mapping > Category Mapping |
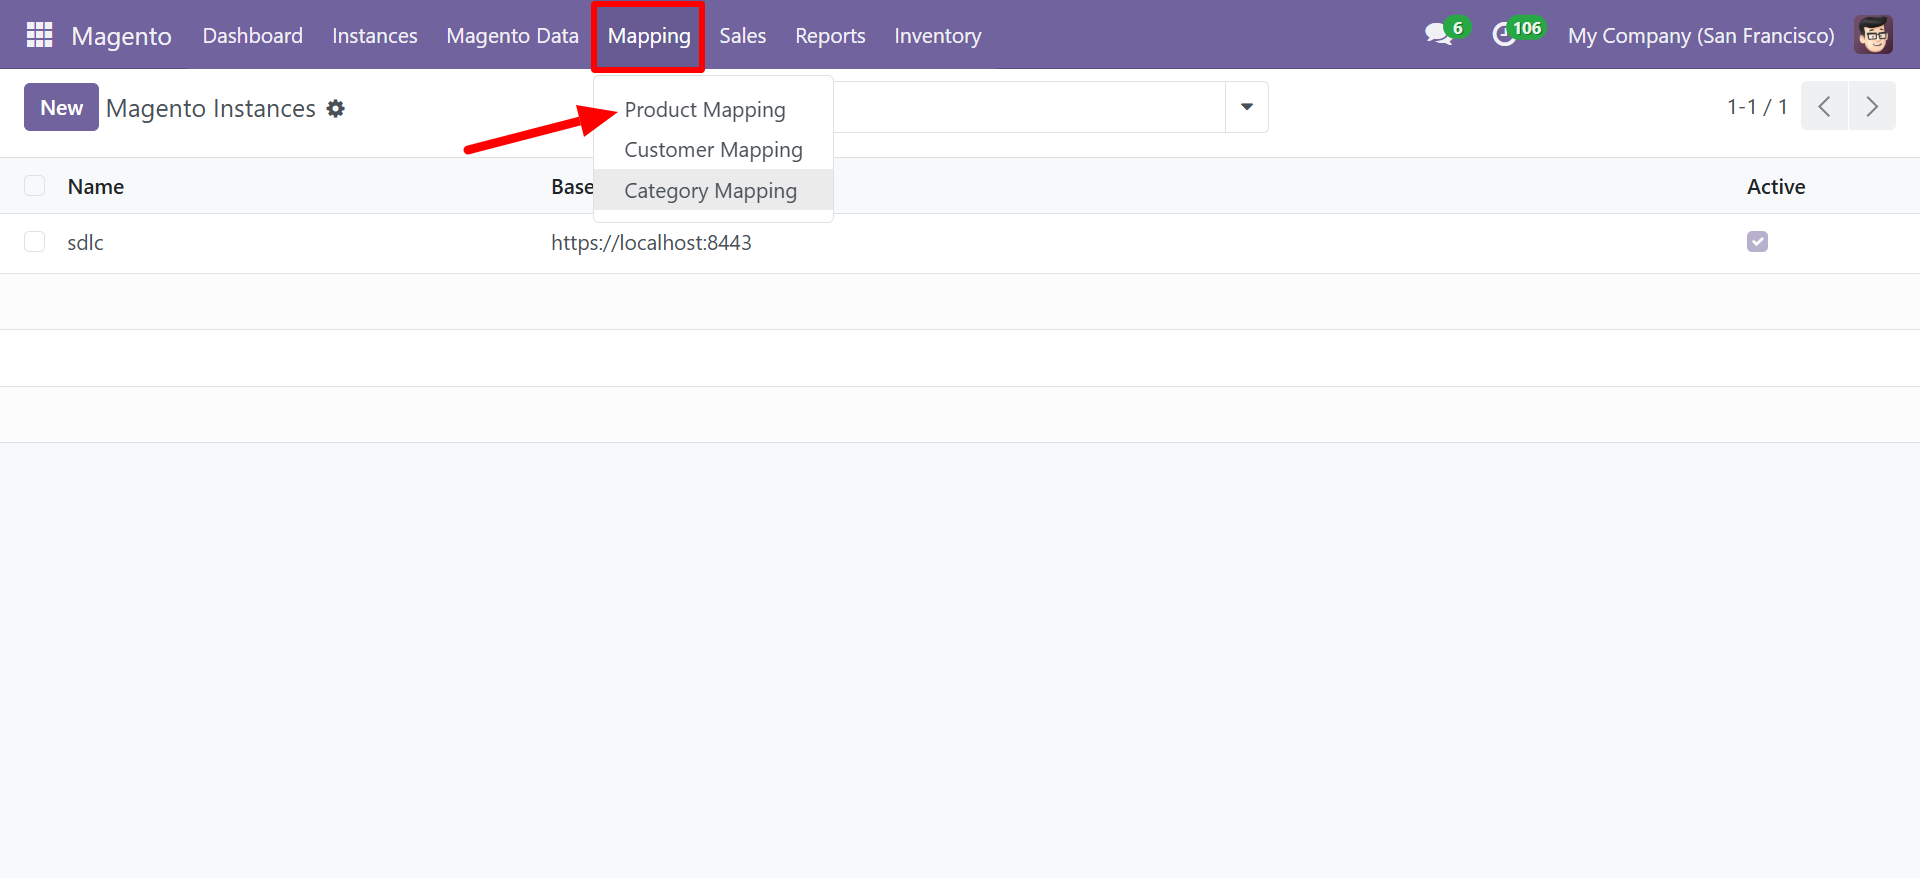
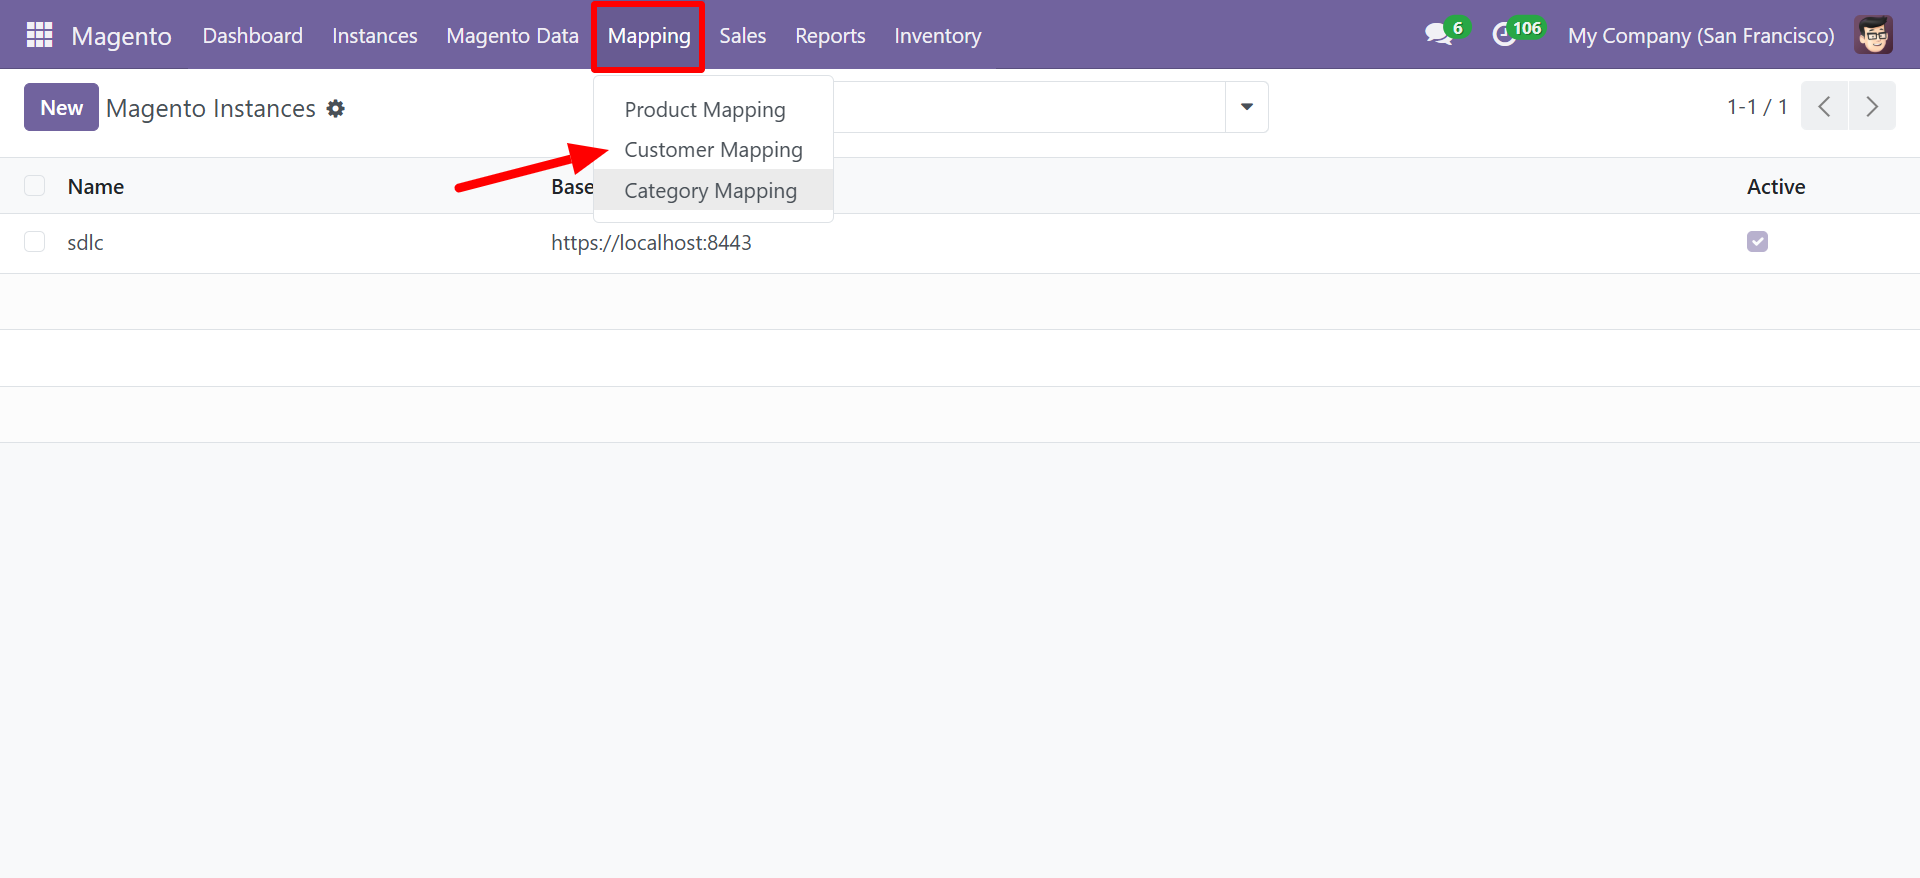
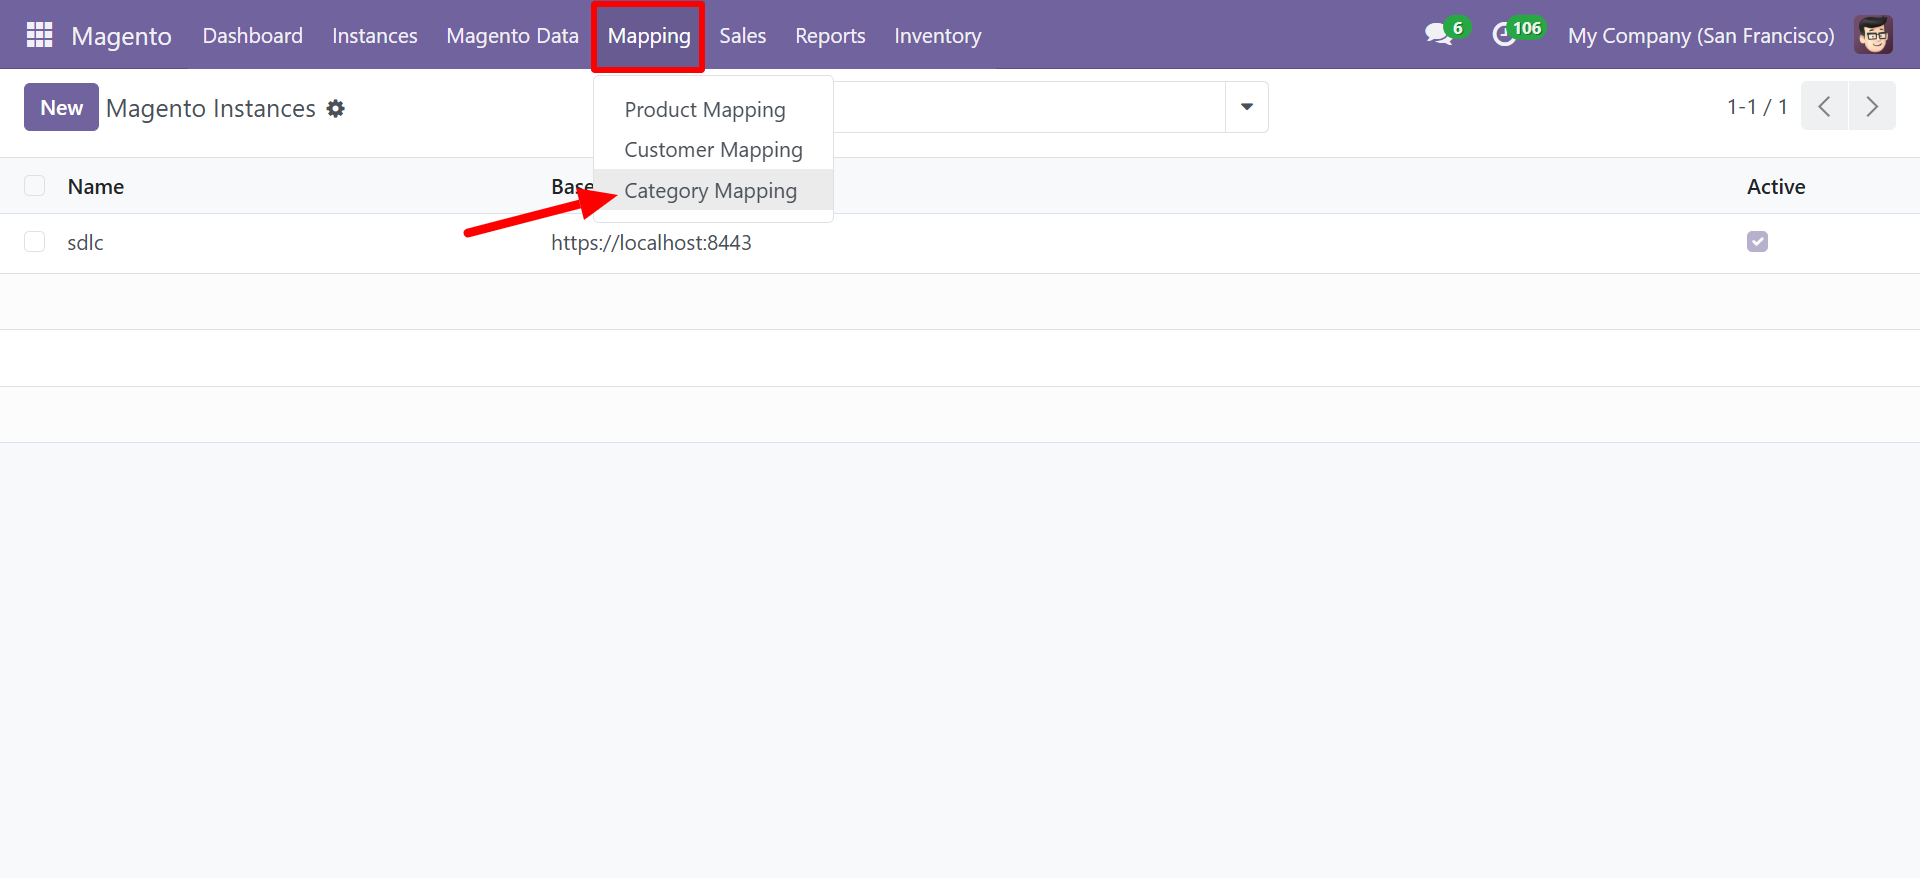
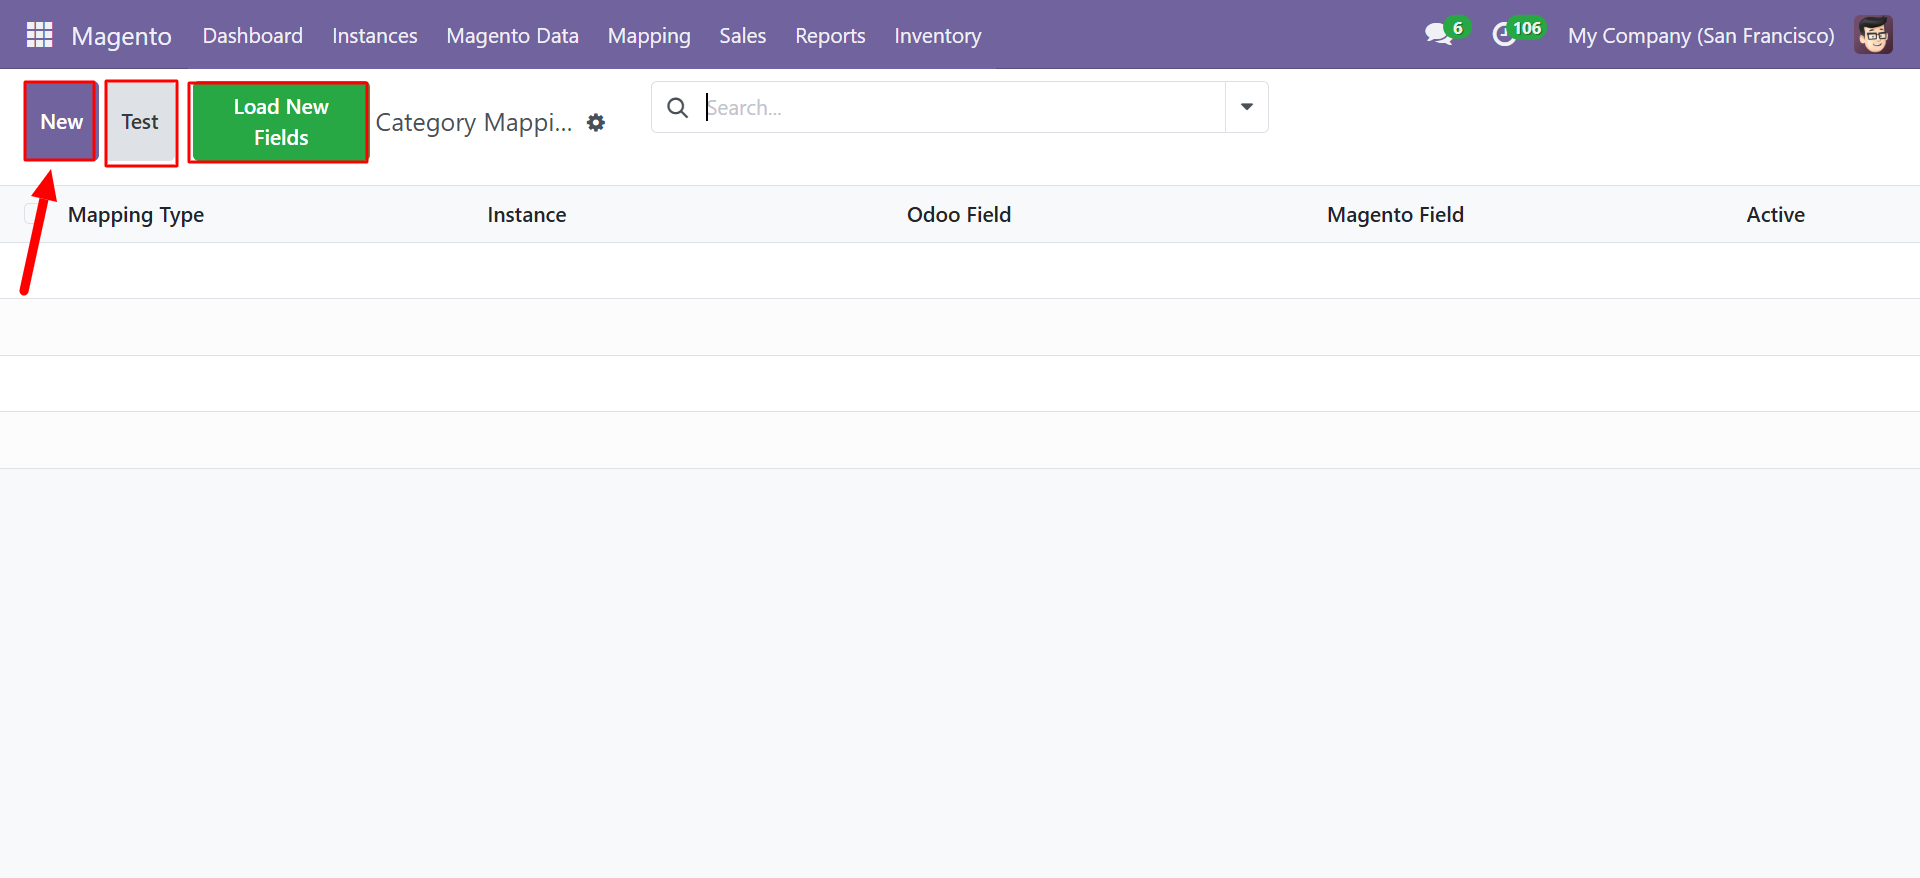
Accessing Field Mapping
Navigate to Magento > Mapping and select the mapping type you want to configure.
Product Mapping
Customer Mapping
Category Mapping
How Mapping Works
Each mapping record defines a link between one Odoo field and one Magento field:
| Column | Description |
|---|---|
| Mapping Type | The entity type (Product, Customer, or Category) |
| Instance | The Magento instance this mapping applies to |
| Odoo Field | The Odoo model field (e.g., Price (Magento Product Mapping)) |
| Magento Field | The corresponding Magento attribute (e.g., Name) |
| Active | Enable or disable this mapping rule |
Product Mapping Example
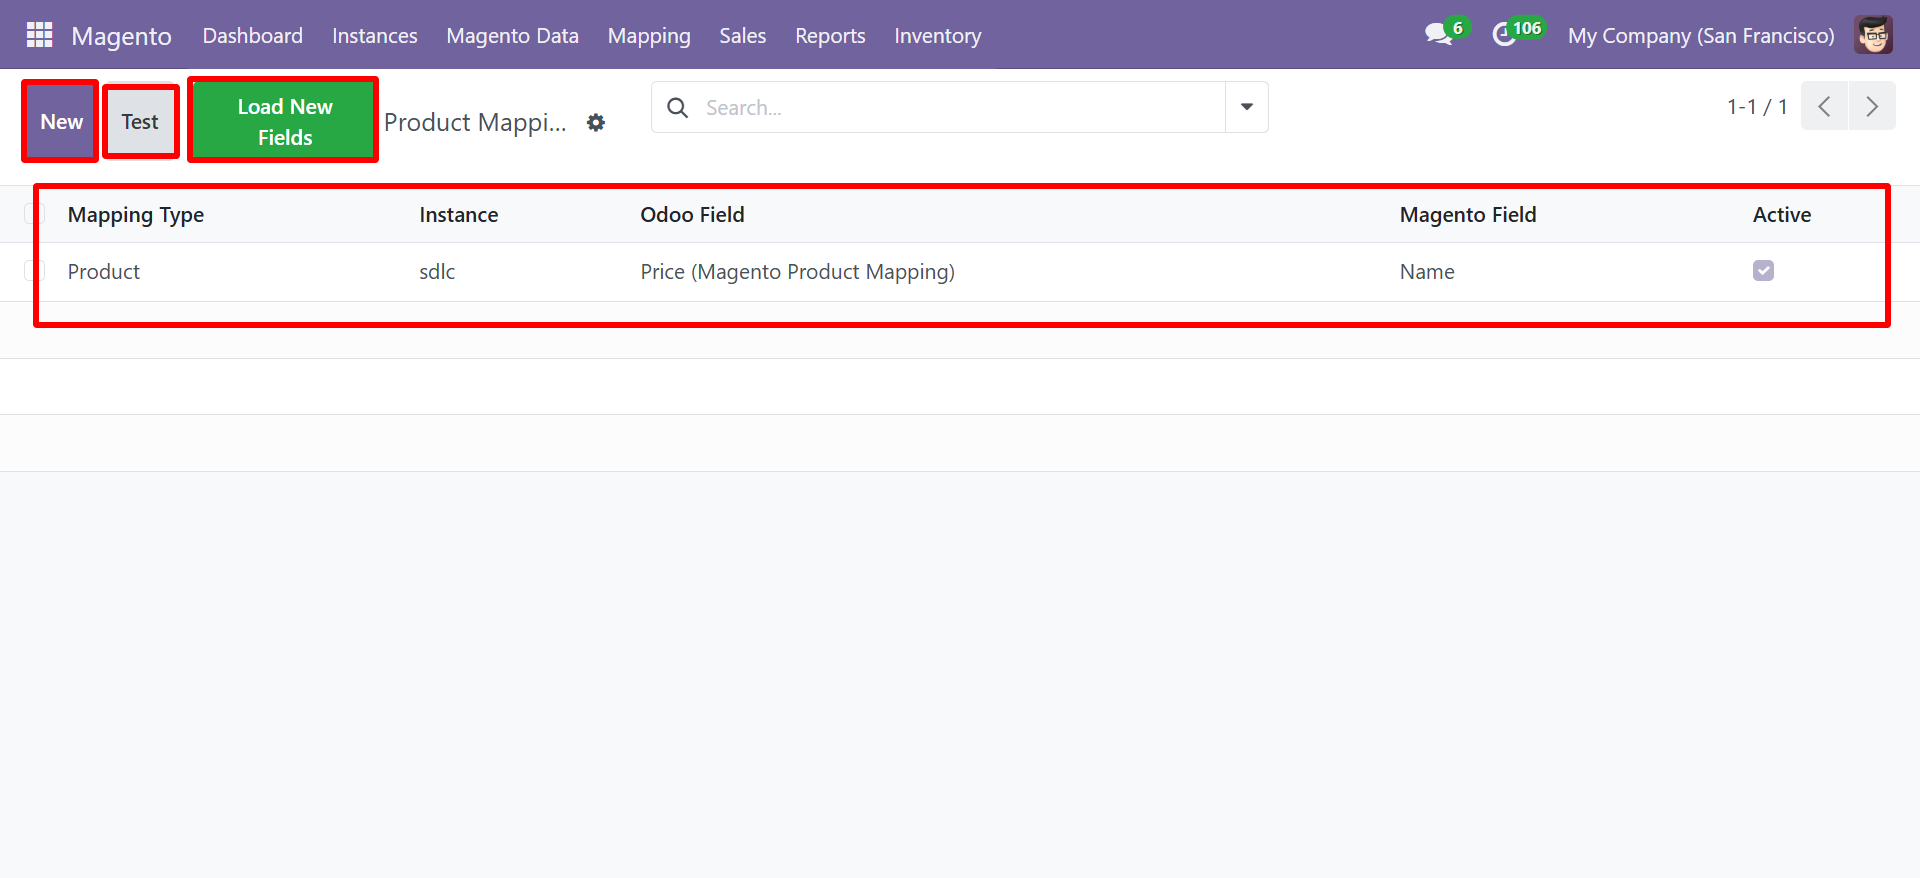
In this example, the Odoo field Price (Magento Product Mapping) is mapped to the Magento field Name, meaning during sync operations the connector will synchronize these field values between the two systems.
Customer Mapping Example
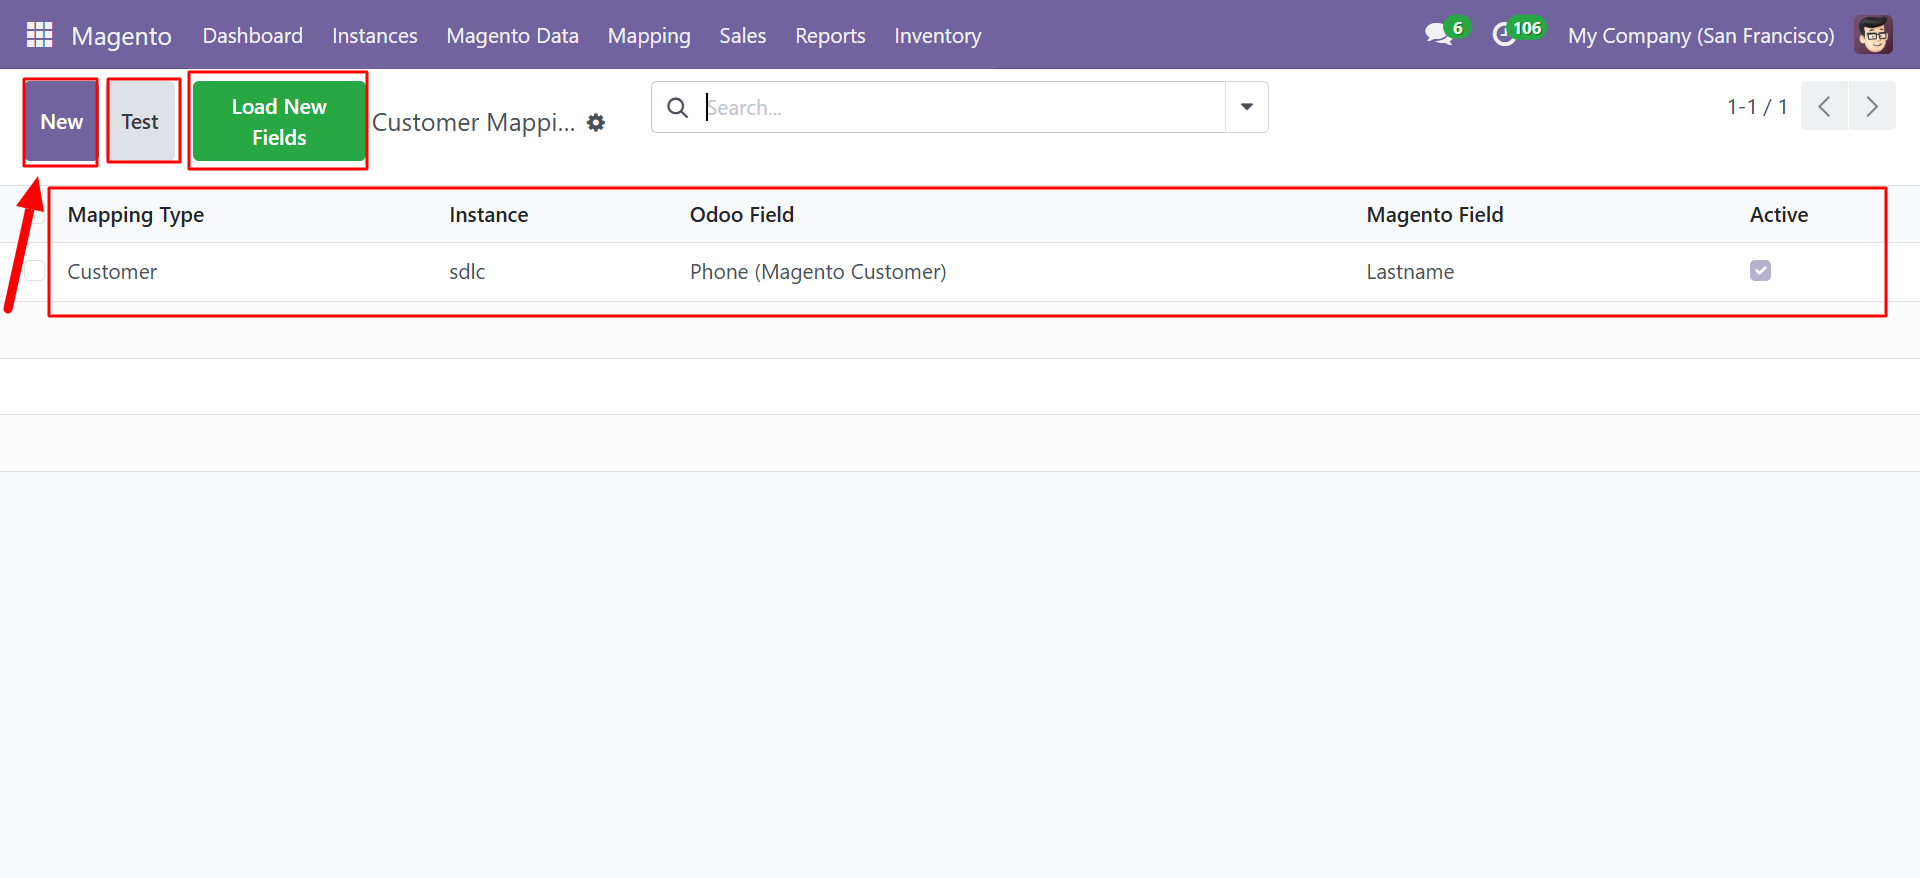
Here, the Odoo field Phone (Magento Customer) is mapped to the Magento field Lastname.
Creating a New Mapping
Step 1: Open the Mapping View
Navigate to the appropriate mapping type under Magento > Mapping.
Step 2: Click New
Click the New button to create a new mapping record.
Step 3: Configure the Mapping
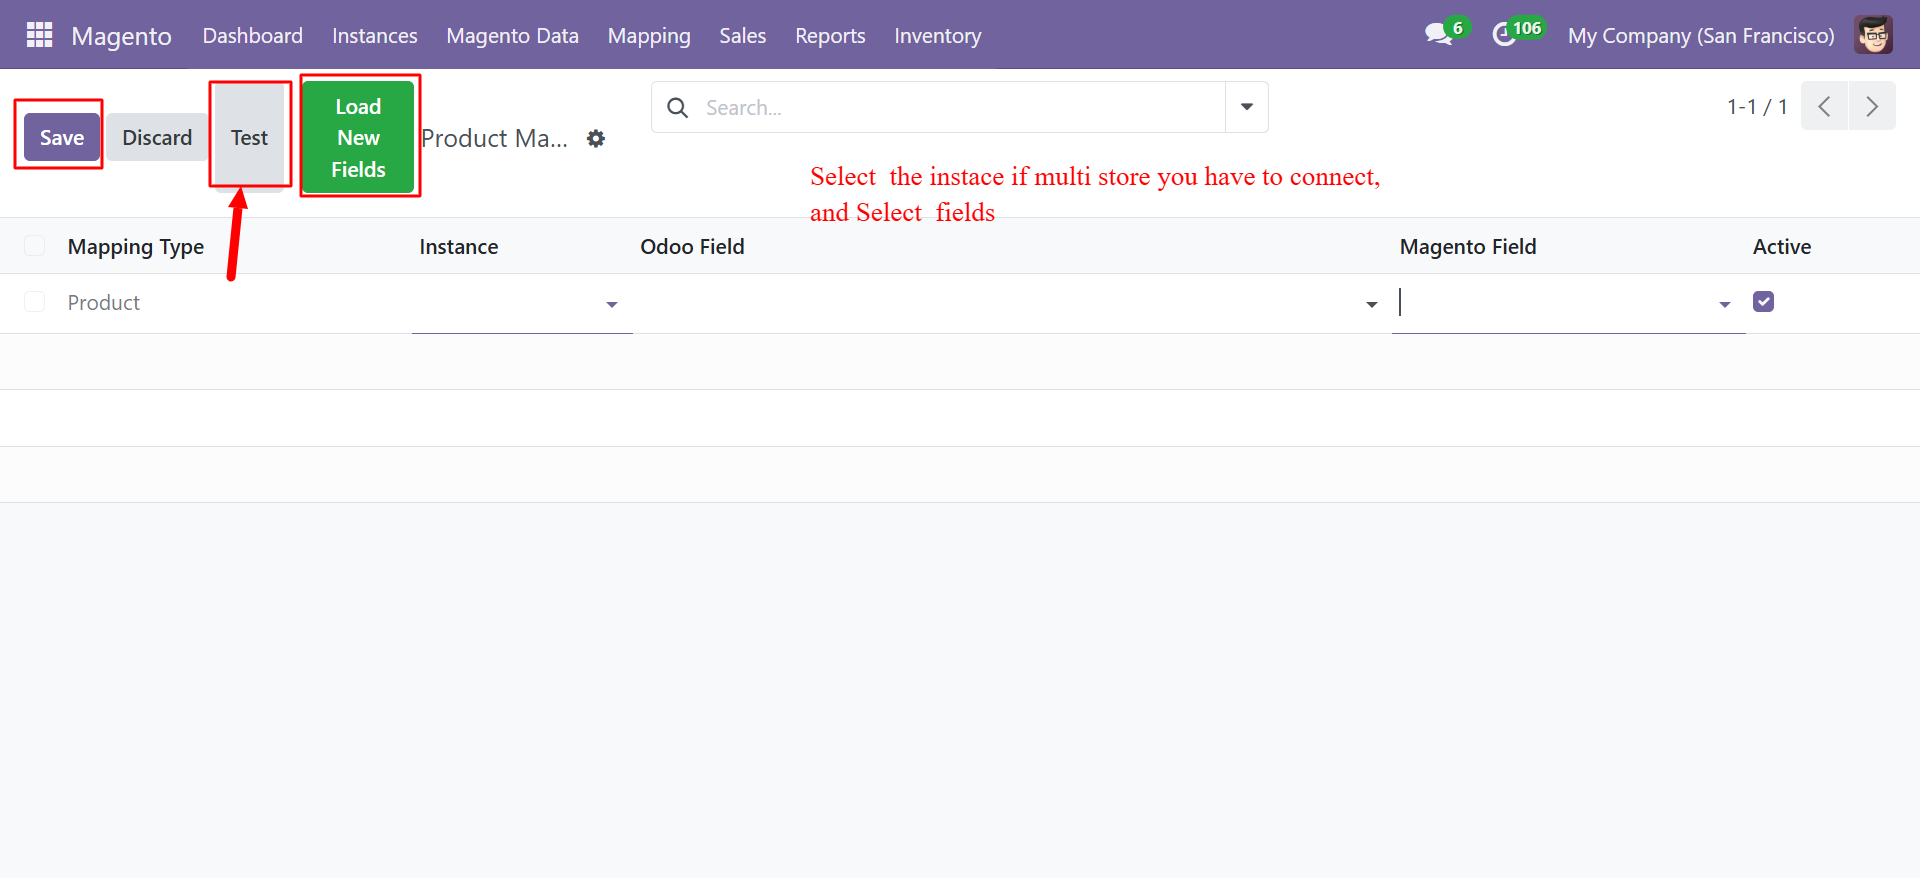
- Mapping Type -- Pre-filled based on the mapping view (Product, Customer, or Category).
- Instance -- Select the Magento instance. This is especially important if you have multiple stores connected.
- Odoo Field -- Select the Odoo field from the dropdown. The connector dynamically loads available fields from the relevant Odoo model.
- Magento Field -- Select the Magento attribute from the dropdown.
- Active -- Check to enable this mapping.
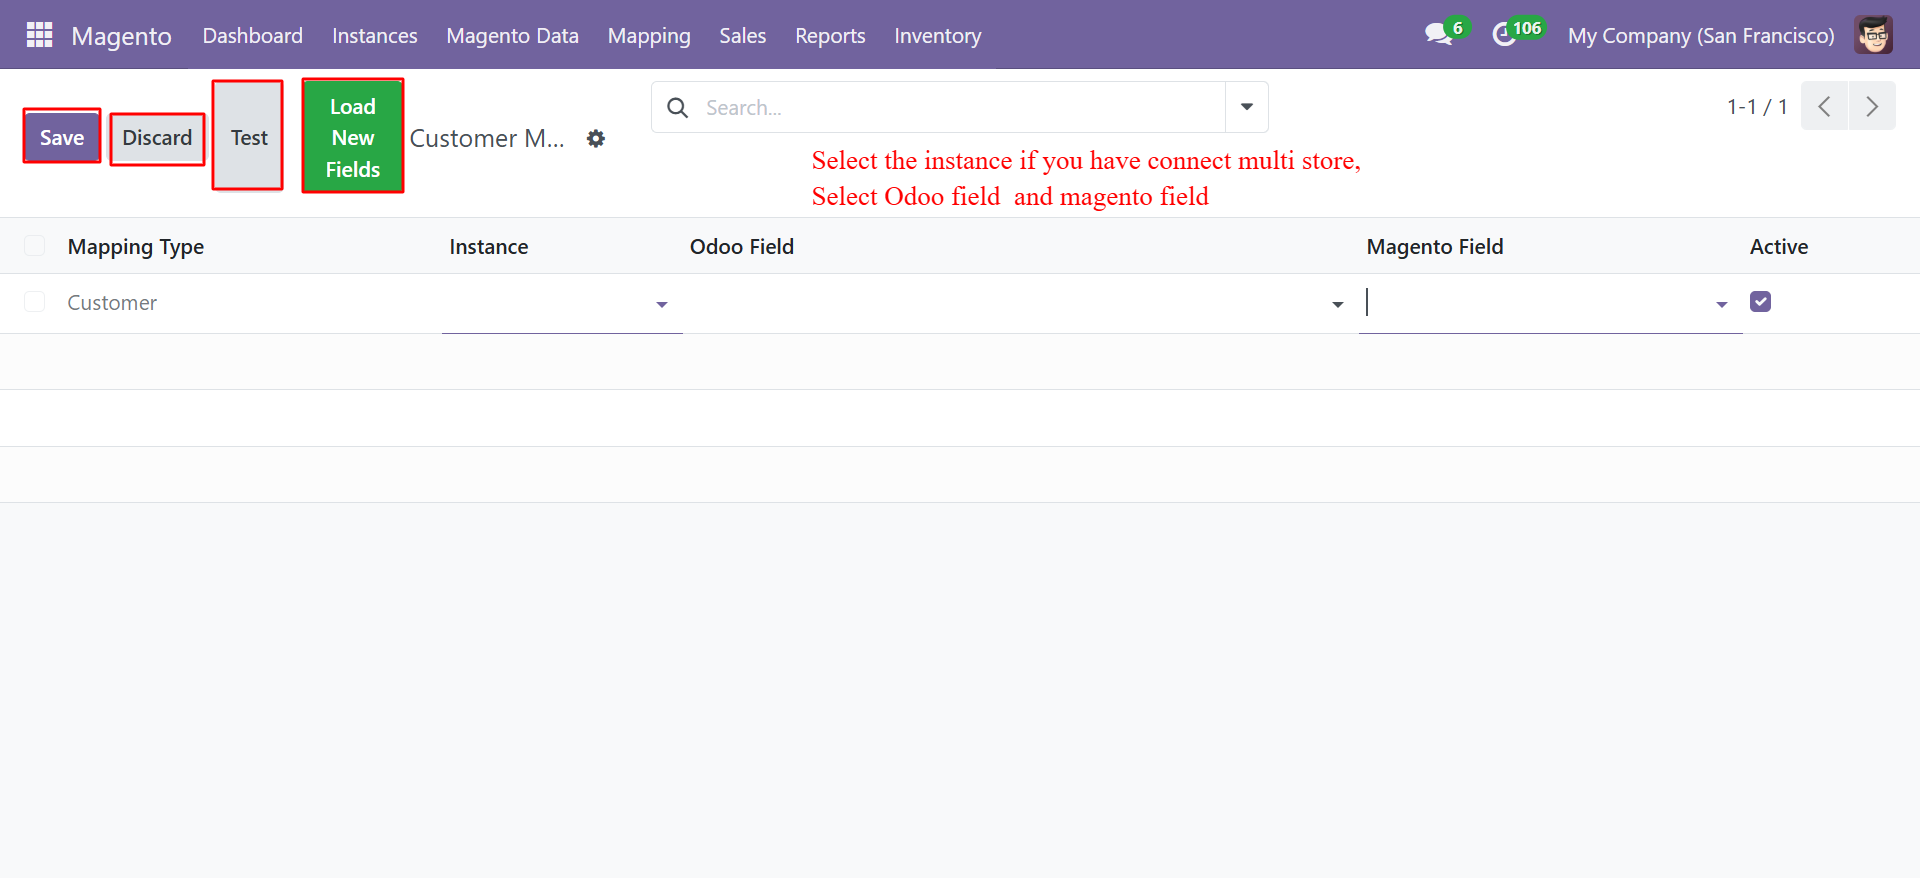
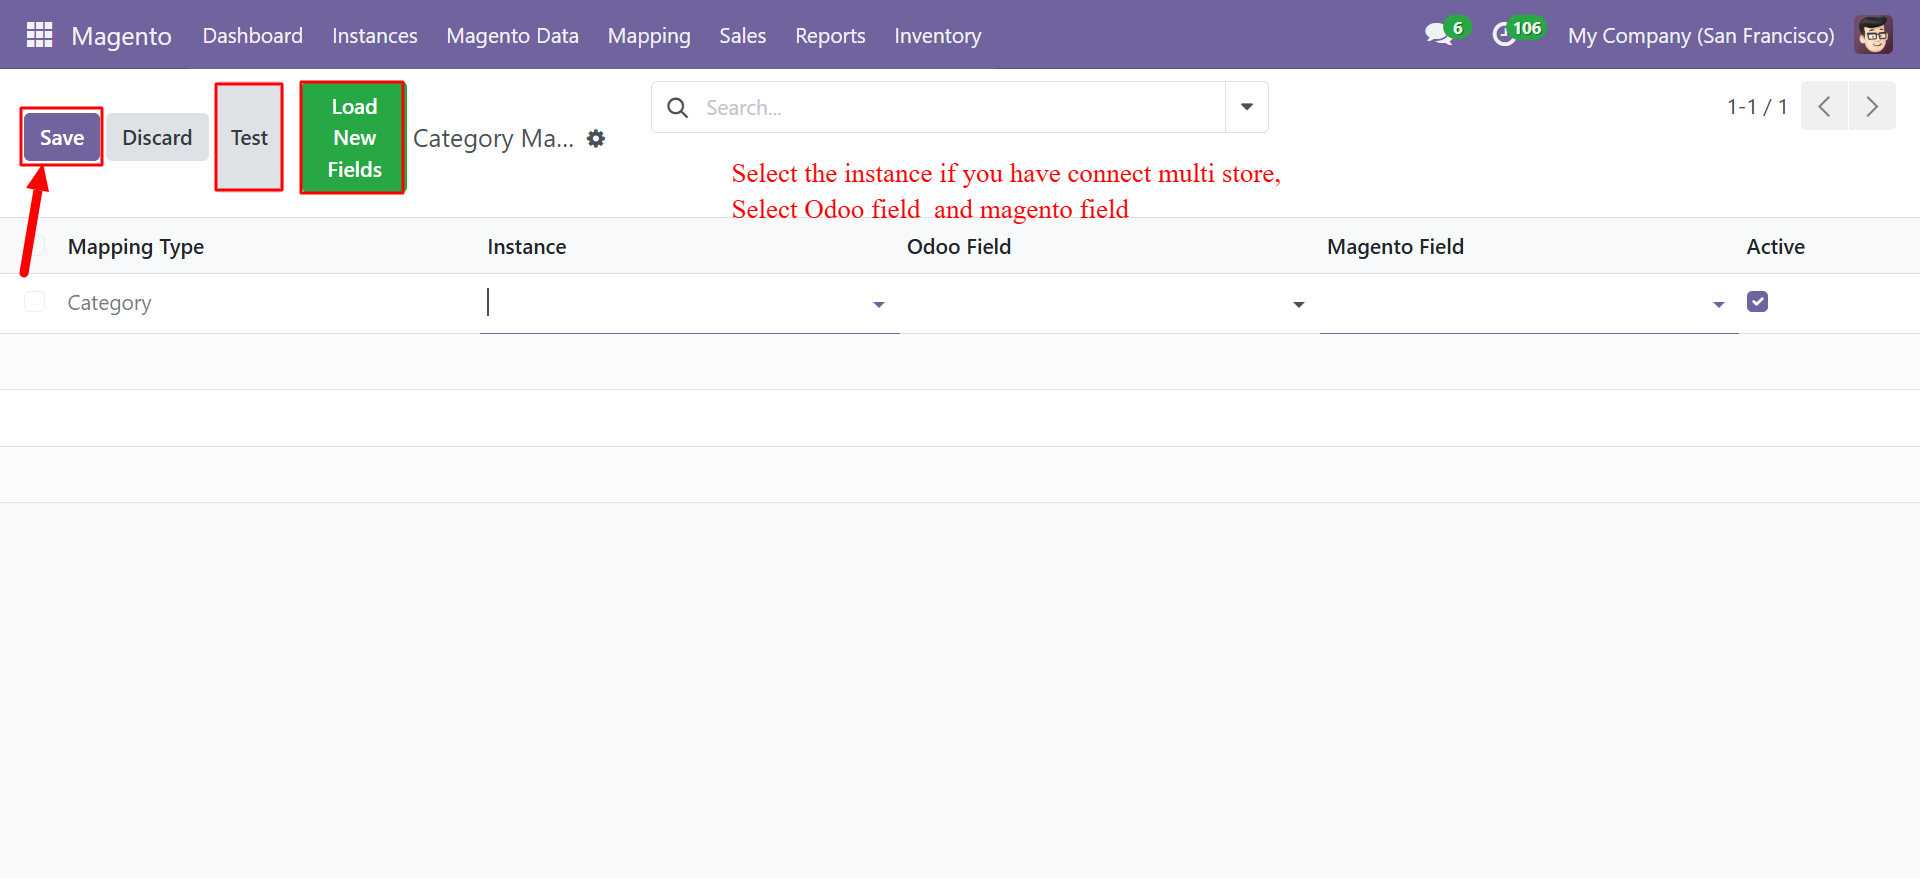
If you have connected multiple Magento stores, select the specific instance to apply the mapping only to that store. Leave blank to apply globally.
Loading Available Fields
Click the Load New Fields button (green button in the toolbar) to refresh the list of available Odoo and Magento fields. This is useful when:
- You have added new custom attributes in Magento
- You have installed new Odoo modules that add fields to product or partner models
- Field lists appear empty or incomplete
After installing new modules or adding custom attributes in Magento, always click Load New Fields to ensure the latest fields are available for mapping.
Testing Mappings
Click the Test button (red button in the toolbar) to validate your mapping configuration:
- The connector attempts to read the mapped fields from both systems.
- It verifies that the field types are compatible.
- A success or error message is displayed.
Incompatible field types (e.g., mapping a text field to a numeric field) may cause sync errors. Always test your mappings after creating or modifying them.
Advanced Features
- Multiple Mappings per Entity -- You can create as many mapping rules as needed for each entity type. All active mappings are applied during sync operations.
- Instance-Specific Mappings -- Different Magento stores can have different mapping configurations.
- Dynamic Field Discovery -- The connector introspects both Odoo models and the Magento API to discover available fields.
- Selective Sync -- Only mapped fields are synchronized, giving you precise control over data flow.
Best Practices
- Start with defaults -- The connector includes sensible default mappings for common fields. Only add custom mappings when needed.
- Test before production -- Always test new mappings in a staging environment first.
- Document your mappings -- Keep a record of custom mappings for reference during troubleshooting.
- Use consistent naming -- Name your mapping records clearly to identify them at a glance.